The oil filter plays a crucial role in maintaining the stable operation of a truck engine. Over time, the oil filter becomes clogged with dirt and its filtering efficiency decreases. So, how to remove a truck oil filter? When should you replace it with a new one? This article will guide you through the detailed process of removing and replacing a truck oil filter correctly, helping you maintain your vehicle effectively.
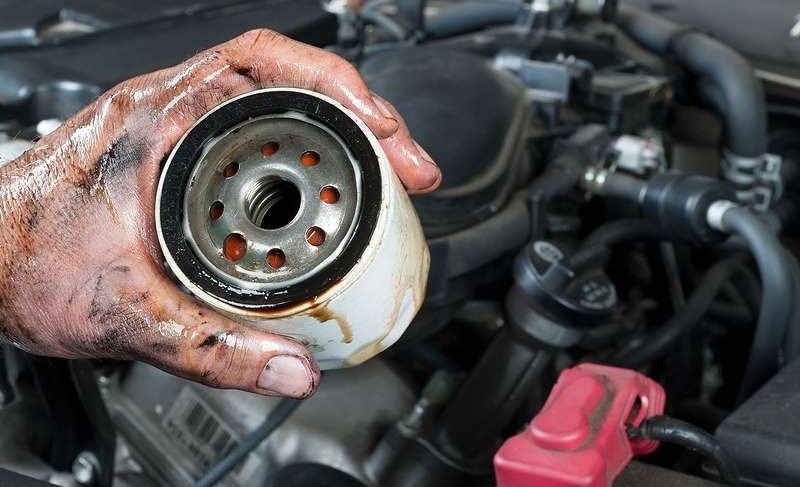 Close-up of removing a used truck oil filter
When Should You Replace Your Truck’s Oil Filter?
It is generally recommended to replace the oil filter every 2 oil changes or every 5,000 – 7,000 km driven. However, the frequency of oil filter replacement also depends on the oil quality, operating conditions, and usage frequency of the vehicle. To be sure, you should inspect it periodically every 1-2 months to detect early signs of damage and replace it promptly. Replacing the oil and oil filter at the same time will help the engine operate at its best.
Step-by-Step Guide to Removing a Truck Oil Filter
How to remove a truck oil filter is quite simple, and you can do it yourself at home without going to a repair shop. Here are the detailed steps:
Step 1: Prepare Tools
 Tools and equipment for truck oil filter replacement
Before starting, prepare all the necessary tools:
- Specialized oil filter wrench of the correct size.
- Drain pan for used oil.
- Wrench, adjustable wrench, or filter wrench.
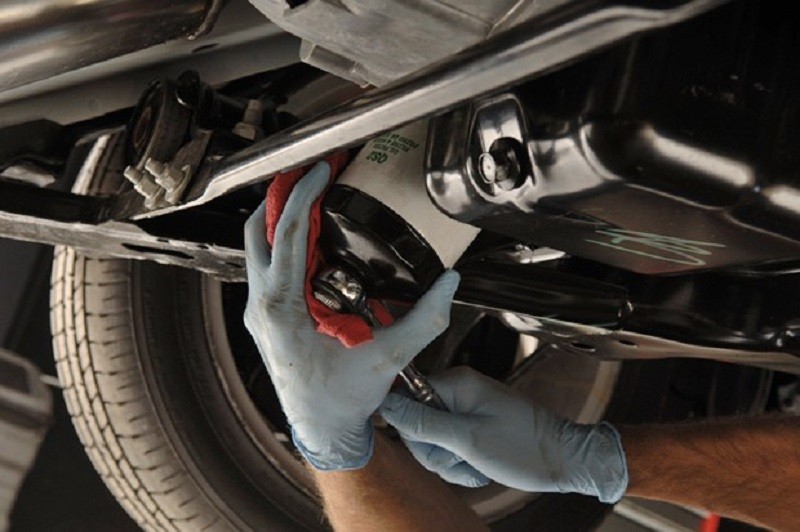
Step 2: Remove the Old Oil Filter
- Locate the oil filter (usually located under the engine, cylindrical in shape).
- Use the oil filter wrench in combination with a wrench or adjustable wrench, turning counterclockwise to loosen it.
- Drain all the oil inside the filter into the drain pan.
- Dispose of the old oil filter in a trash bin.
Step-by-Step Guide to Installing a New Truck Oil Filter
 Installing a new oil filter on a truck engine
After removing the old oil filter, you need to replace it with a new one. The process of replacing a new oil filter is as follows:
- Open the seal of the new oil filter and apply a layer of new oil to the rubber gasket to prevent metal objects from sticking and increase sealing ability.
- Apply oil around the rubber gasket on the filter to increase tightness and ease installation.
- Pour about 2/3 of new oil into the oil filter.
- Install the new oil filter in the old position vertically.
- Tighten the oil filter by hand until it is snug, then use a filter wrench to tighten it further until it is just tight enough. Do not overtighten to avoid damaging the rubber gasket.
- Remove the oil drain plug and place a funnel to pour new oil into the engine according to the specified capacity.
- Reinstall the oil drain plug to its original position.
Important Notes When Removing a Truck Oil Filter
- Clean the engine thoroughly before removing and replacing the oil filter.
- Do not remove or replace the oil filter when the engine is still hot; wait for it to cool down for about 5 minutes.
- Use a good quality oil filter removal tool.
- Do not overtighten the oil filter.
- Use a thin rubber sheet to increase grip when tightening the filter by hand.
- Ensure the correct thread pitch and gasket are in the correct position during installation.
- After replacing the oil filter and adding oil, start the engine for about 15 minutes and check for oil leaks around the filter housing.
Following the correct how to remove a truck oil filter procedure and replacing it periodically will help the engine operate efficiently and extend the life of your vehicle.